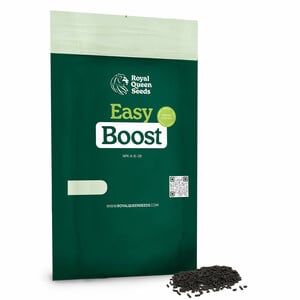
Enthaltene kostenlose Artikel


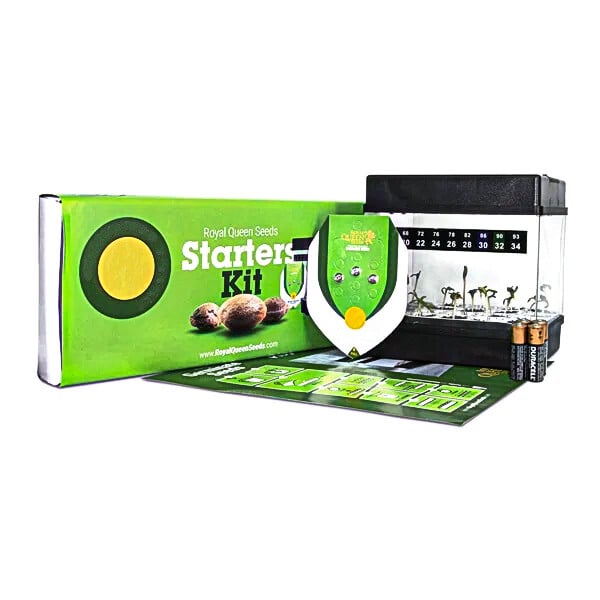
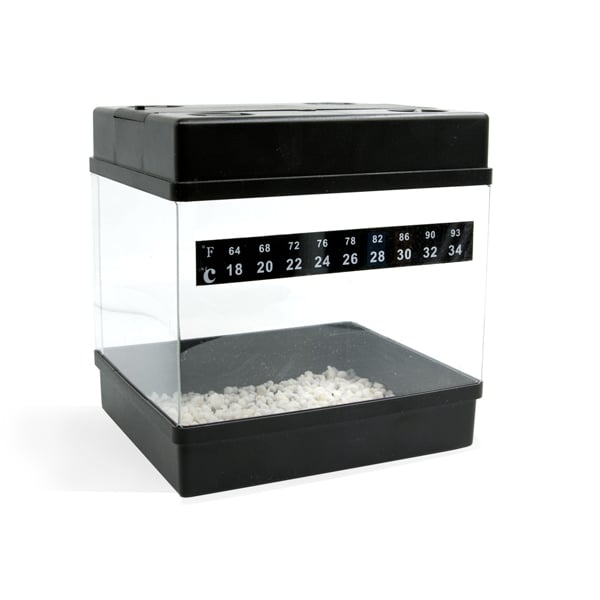
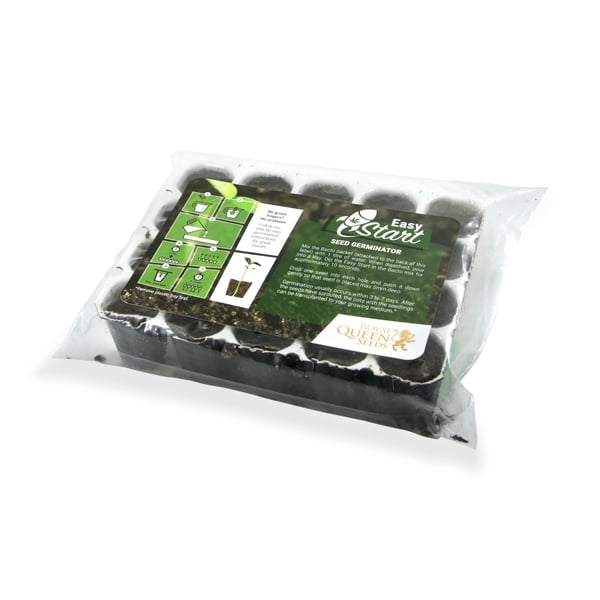
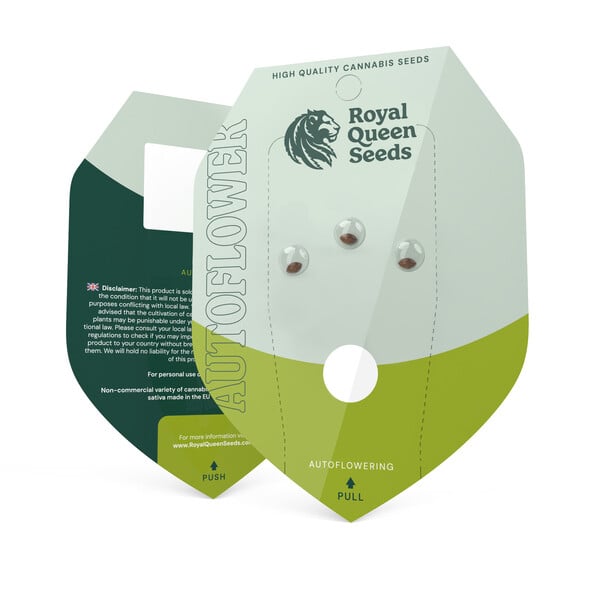


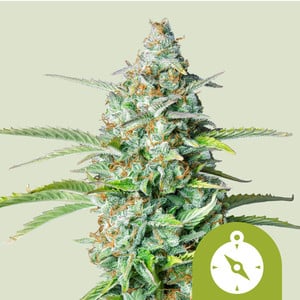
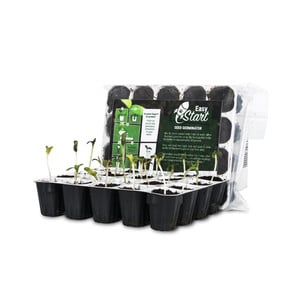
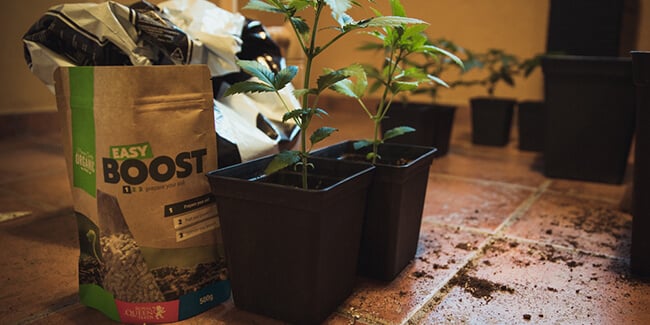
Starter Kit Autoflowering
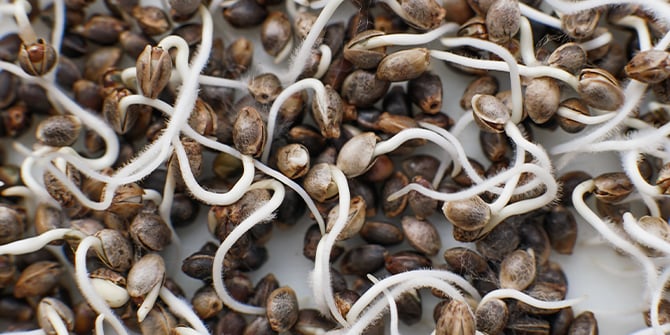
Die Keimung der Cannabissamen kann der nervenaufreibendste Teil des gesamten Anbauvorgangs sein. Mit unserem Starterkit Autoflowering erleichtern wir Dir diesen Schritt. Das kinderleicht anwendbare Set enthält alles, was Du für den erfolgreichen Start Deiner Anbauambitionen benötigst!
4.5
5
1
(985)